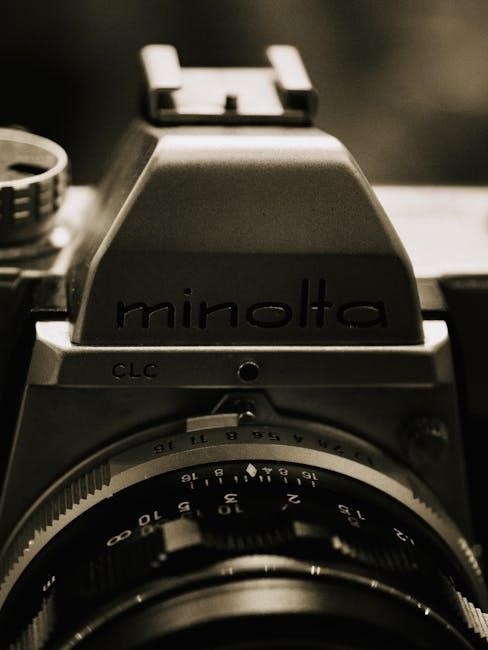
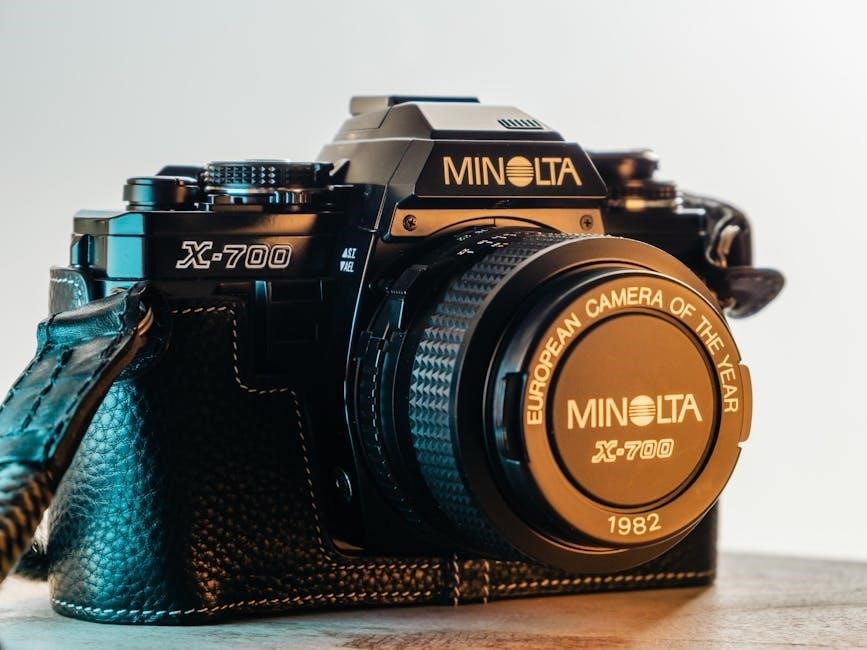
The Minolta X-700 is a state-of-the-art SLR camera at the center of the Minolta Program System, offering simplicity and advanced features for photographers. This manual provides essential guidance to maximize its capabilities and ensure optimal performance.
1.1 Overview of the Minolta X-700 Camera
The Minolta X-700 is a sophisticated 35mm SLR camera designed for both enthusiasts and professionals. It features the Minolta Program System, offering advanced auto-exposure modes and manual controls. With its intuitive design, the X-700 provides ease of use while delivering high-quality images. The camera supports a wide range of lenses and accessories, making it versatile for various photography needs. This manual is essential for understanding its operation, troubleshooting, and maximizing its potential. By following the guidelines, users can ensure optimal performance and longevity of their Minolta X-700 camera. The manual covers everything from basic setup to advanced techniques.
1.2 Importance of the User Manual
The user manual is crucial for understanding the Minolta X-700’s features, operation, and maintenance. It provides detailed instructions for maximizing the camera’s capabilities, troubleshooting common issues, and ensuring proper care. The manual serves as a comprehensive guide, covering everything from basic setup to advanced techniques. By following the manual, users can avoid errors, optimize performance, and extend the camera’s lifespan. It also offers valuable insights into the camera’s Program System and accessories, making it an indispensable resource for both newcomers and experienced photographers. Keeping the manual handy ensures quick reference and optimal use of the Minolta X-700.
Key Features and Components of the Minolta X-700
The Minolta X-700 is a state-of-the-art SLR camera featuring the Minolta Program System, offering both automatic and manual modes for versatile shooting. It includes a built-in flash, advanced metering, and a bright viewfinder with LED displays for precise control, making it a robust tool for photographers.
2.1 Camera Controls and Layout
The Minolta X-700 features an intuitive control layout designed for ease of use. Key controls include the mode dial, shutter speed dial, and aperture ring, allowing seamless switching between auto and manual modes. The camera also includes a built-in flash, lens release button, and a bright viewfinder with LED displays for aperture, shutter speed, and exposure compensation. The ergonomic design ensures comfortable handling, with controls logically positioned for quick access. Understanding the layout is essential for maximizing the camera’s potential, as detailed in the user manual.
2.2 Program System and Auto-Exposure Modes
The Minolta X-700 features a sophisticated Program System, offering programmed auto-exposure (P Mode) for effortless shooting. This mode automatically sets both aperture and shutter speed, providing optimal exposure across various lighting conditions. The viewfinder displays LED indicators for selected settings, ensuring precise control. The Program System streamlines the photography process, catering to both beginners and experienced photographers. It combines simplicity with advanced functionality, allowing users to focus on composition while the camera handles exposure details. This feature-rich system is a hallmark of the X-700, making it a versatile tool for capturing high-quality images with minimal effort.
Exposure Modes and Metering
The Minolta X-700 offers advanced exposure modes, including Programmed Auto-Exposure (P Mode) and Manual (M Mode), with a precise metering system for accurate light measurement and control.
3;1 Programmed Auto-Exposure (P Mode)
The Minolta X-700’s Programmed Auto-Exposure (P Mode) offers effortless photography with automatic aperture and shutter speed settings. This mode simplifies shooting, providing continuous LED readouts in the viewfinder for clear visibility. Designed for ease of use, P Mode automatically adjusts exposure across a wide range, ensuring optimal results in various lighting conditions. It is ideal for photographers seeking convenience without compromising image quality. The camera’s advanced metering system ensures precise light measurement, making it a reliable choice for capturing sharp, well-exposed images in both casual and professional settings. This mode embodies the X-700’s versatility and user-friendly design.
3.2 Manual Exposure (M Mode)
The Manual Exposure (M Mode) on the Minolta X-700 offers full control over aperture and shutter speed, ideal for creative photography. Photographers can manually adjust settings to achieve desired effects, with the camera’s metering system providing accurate light measurements to guide exposures. This mode is particularly useful for professionals and enthusiasts seeking precise control. The X-700’s M Mode ensures flexibility and customization, allowing for fine-tuned results in various lighting conditions. By enabling manual adjustments, it empowers users to experiment and optimize their shots according to their artistic vision, making it a versatile option for those who prefer hands-on control over their photography.

Focusing and Shooting Modes
The Minolta X-700 offers Autofocus (AF) and Manual Focusing options, ensuring precise control over focus. It also features Single Shot and Continuous Shooting modes, capturing dynamic moments effortlessly.
4.1 Autofocus and Manual Focusing
The Minolta X-700 features Autofocus (AF) with an in-lens motor for quick and accurate focusing. Manual focusing is also available, allowing precise control via the focusing ring. The camera provides clear electronic indicators in the viewfinder to confirm focus. This dual system ensures versatility for photographers, catering to both fast-paced and deliberate shooting styles. The Autofocus mode is particularly useful for dynamic subjects, while Manual Focusing offers creative precision, making the X-700 adaptable to various photographic needs and preferences.
4.2 Continuous Shooting and Single Shot Modes
The Minolta X-700 offers versatile shooting modes to suit different photography needs. Continuous Shooting mode, enabled with the Motor Drive MD-1, captures up to 2 frames per second, ideal for action sequences. Single Shot mode is the default setting, allowing precise control for individual exposures. Switching between modes is straightforward via a button or switch, ensuring flexibility. Continuous Shooting is perfect for dynamic subjects, while Single Shot mode conserves film and ensures deliberate framing. This dual capability makes the X-700 adaptable for both fast-paced and meticulous photography, catering to a wide range of creative and practical requirements.
Flash Photography and Accessories
The Minolta X-700 supports built-in flash and external flash units like the Auto Electroflash 280PX for enhanced lighting control. Compatible accessories expand its functionality, including lenses and grips.
5.1 Built-In Flash and External Flash Options
The Minolta X-700 features a built-in flash for convenient lighting in low-light conditions. It also supports external flash units, such as the Auto Electroflash 280PX, for advanced control and versatility. The built-in flash automatically calculates exposure based on the TTL (Through-The-Lens) metering system, ensuring accurate illumination. External flash options allow for more creative lighting setups, with features like bounce and swivel capabilities. The camera’s hot shoe and sync terminal provide seamless connectivity for external flash devices, enabling photographers to achieve professional-grade results in various shooting scenarios.
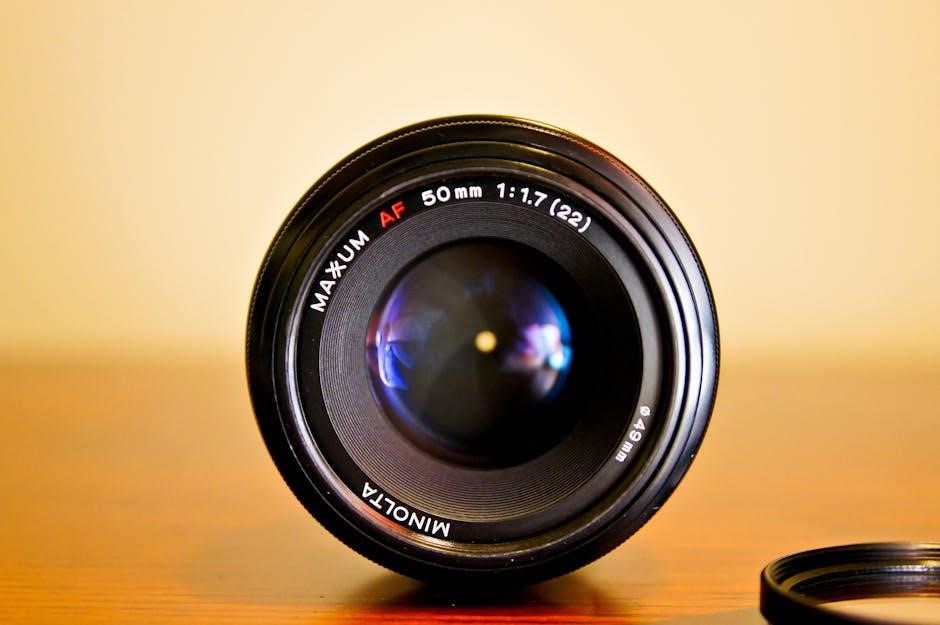
5.2 Compatible Accessories and Lenses
The Minolta X-700 is part of the Minolta Program System, offering compatibility with a wide range of accessories and lenses. It supports Minolta’s extensive MD and MC lens mounts, providing flexibility for various focal lengths and aperture settings. Additional accessories include motor drives for faster shooting, remote shutter releases, and specialized filters. The camera’s compatibility ensures photographers can enhance their creative options, from wide-angle landscapes to telephoto portraits, with reliable performance and optimal image quality. This versatility makes the X-700 a robust choice for both amateur and professional photographers seeking to expand their creative possibilities.
Maintenance and Troubleshooting
Regular cleaning and upkeep ensure optimal performance. Inspect lenses, viewfinders, and sensors for dirt or damage. Address common issues like battery drain or shutter malfunctions promptly for longevity.
6.1 Cleaning and Upkeeping the Camera
Regular maintenance is crucial for the longevity of your Minolta X-700. Use a soft, dry cloth to wipe the exterior and lens surfaces. Avoid liquids or abrasive materials. For the mirror and sensor, employ an air blower or soft brush. Clean the viewfinder and focusing screen gently with a microfiber cloth. Ensure all components are free from dust and debris. Store the camera in a cool, dry place to prevent moisture damage. Refer to the manual for detailed cleaning instructions to maintain optimal performance and image quality.
6.2 Common Issues and Solutions
Common issues with the Minolta X-700 include the 10-second LED blink, indicating battery or connection problems. Ensure battery terminals are clean and connections are secure. For mirror or shutter issues, clean the mirror with a soft brush and check for dust. If the shutter fails to fire, clean the camera’s electrical contacts. For lens errors, ensure the lens is properly mounted and free from debris. Viewfinder malfunctions may require adjusting the diopter or cleaning the focusing screen. Refer to the repair manual for complex fixes or consult professional servicing to maintain optimal performance and resolve persistent problems effectively.
Resources for Further Learning
Download the Minolta X-700 manual for detailed instructions. Explore online forums and repair guides for troubleshooting. Visit communities like photozone.nu for additional resources and system insights.
7.1 Downloading the Minolta X-700 User Manual
The Minolta X-700 user manual is widely available online in PDF format, offering detailed instructions for camera operation. It can be downloaded from trusted sources like photozone.nu or lensinc.net. The manual is approximately 5 MB in size and covers everything from basic functions to advanced features. Ensure you download the correct version, as some manuals are optimized for A4 printing. Additionally, websites like photomontage_biz provide free access to the manual, making it easy to reference or print. This resource is essential for troubleshooting and maximizing your camera’s potential.
7.2 Online Communities and Repair Guides
Online communities and forums dedicated to the Minolta X-700 offer valuable resources for photographers and collectors. Websites like photozone.nu and lensinc.net provide access to repair guides, service manuals, and troubleshooting tips. These platforms allow users to share experiences, ask questions, and learn from experts. Additionally, specialized forums discuss modifications and maintenance, ensuring the longevity of your camera. For DIY enthusiasts, detailed repair manuals are available, covering everything from lens adjustments to electronic circuitry. Engaging with these communities can enhance your understanding and help preserve your Minolta X-700 for years to come.